Google identity provider
PolicyArc uses Google as a pass-through identity provider: when a user signs in, PolicyArc redirects them to Google's standard OAuth flow and accepts the resulting OIDC identity. PolicyArc never sees or stores their Google password.
To wire this up, you'll create an OAuth client in Google Cloud Console, then hand its client ID and secret to PolicyArc.
- A Google Cloud project (any project — it just needs the credentials surface).
- Permission to create OAuth credentials in that project.
- The PolicyArc admin portal open in another tab.
Step 1 — Open the Add Identity Provider screen
In the Admin Portal, go to Identity and click Add identity provider.

Pick Google from the provider list.
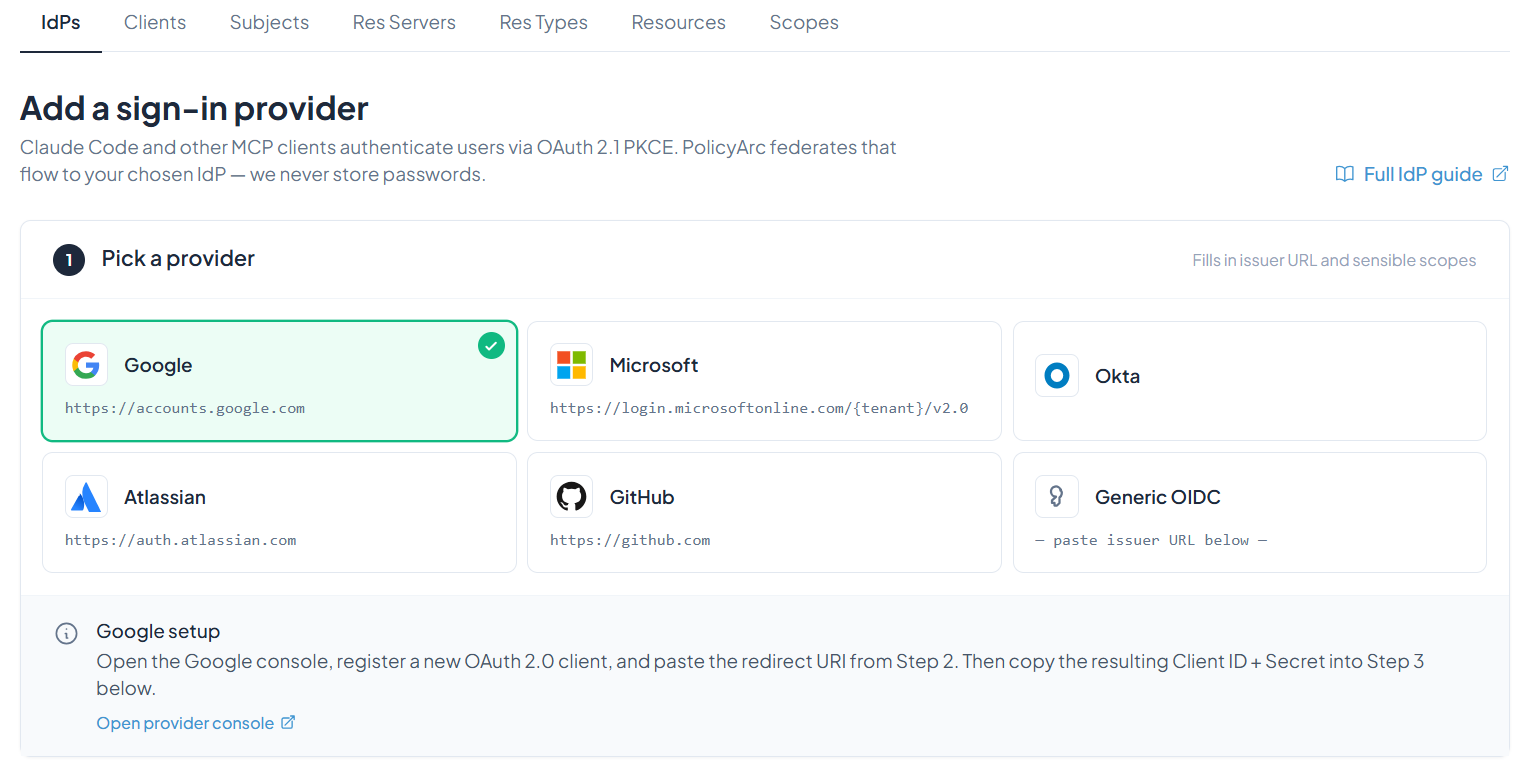
Keep this tab open — you'll come back to it after you create the credentials in Google.
Step 2 — Open the Google provider console
Click Open provider console. Google will ask you to sign in.
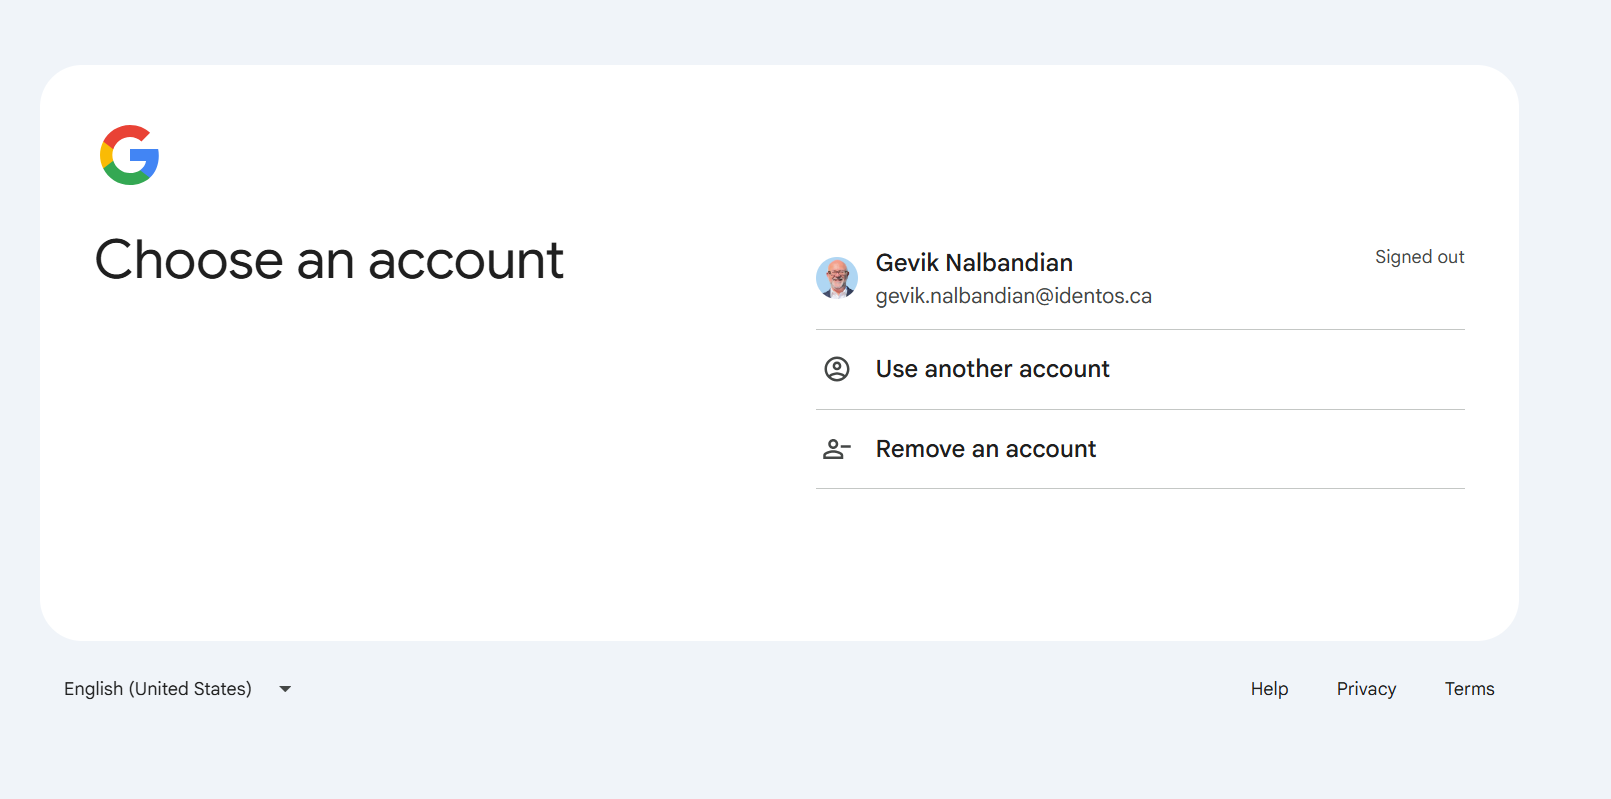
After you authenticate, you'll land on the Credentials page of Google Cloud Console.
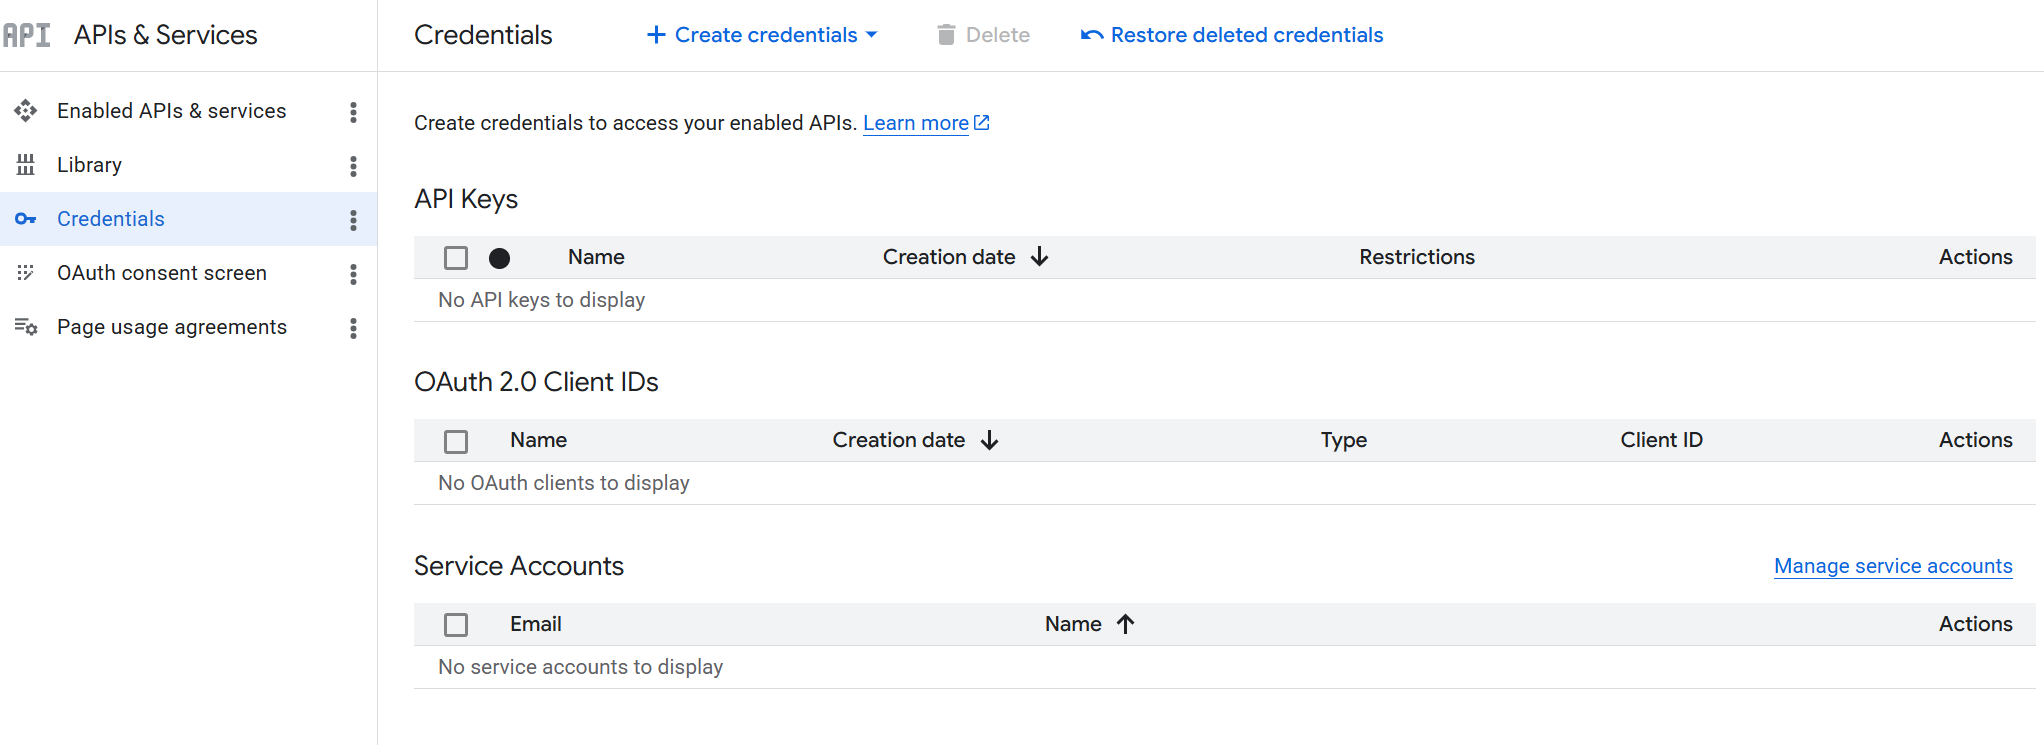
Step 3 — Create an OAuth client
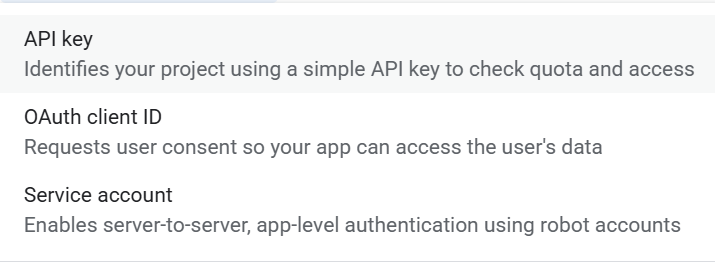
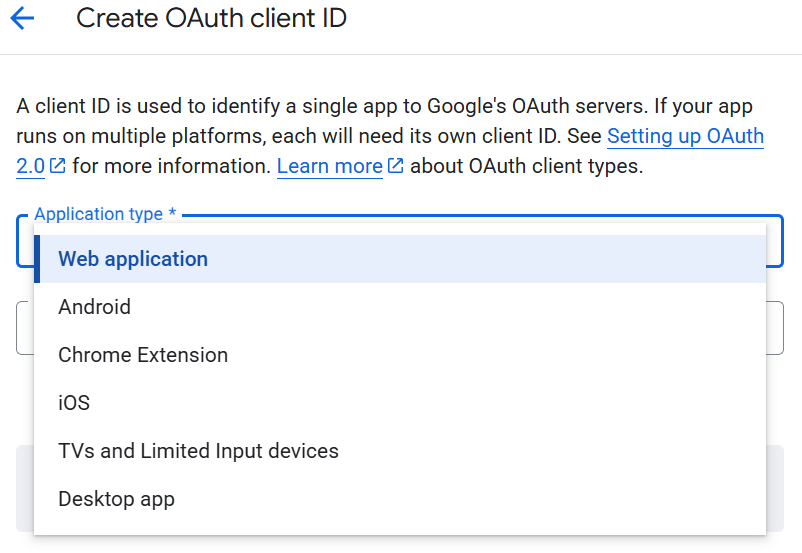
Click + Create credentials and pick OAuth client ID.
For Application type, choose Web application.
Give the OAuth client a name (for example, PolicyArc App), then add an Authorized redirect URI.
The redirect URI comes from the PolicyArc tab you left open in Step 1 — it's the value PolicyArc shows on the Add Identity Provider screen.

Your finished form should look like this:
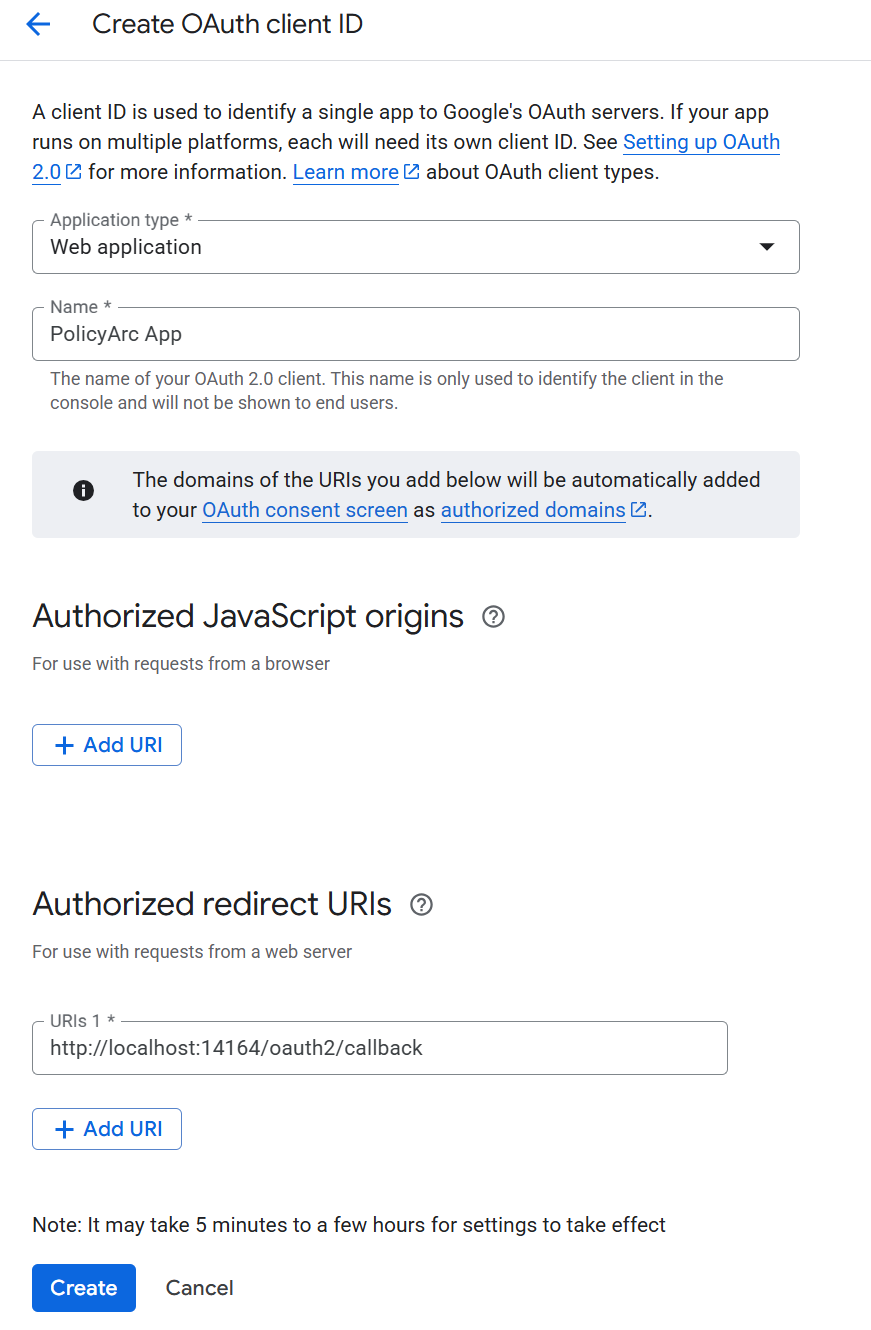
Click Create.
Step 4 — Capture the client ID and client secret
Google now shows a pop-up with your new Client ID and Client secret. Don't dismiss this dialog yet — the secret is shown only once.
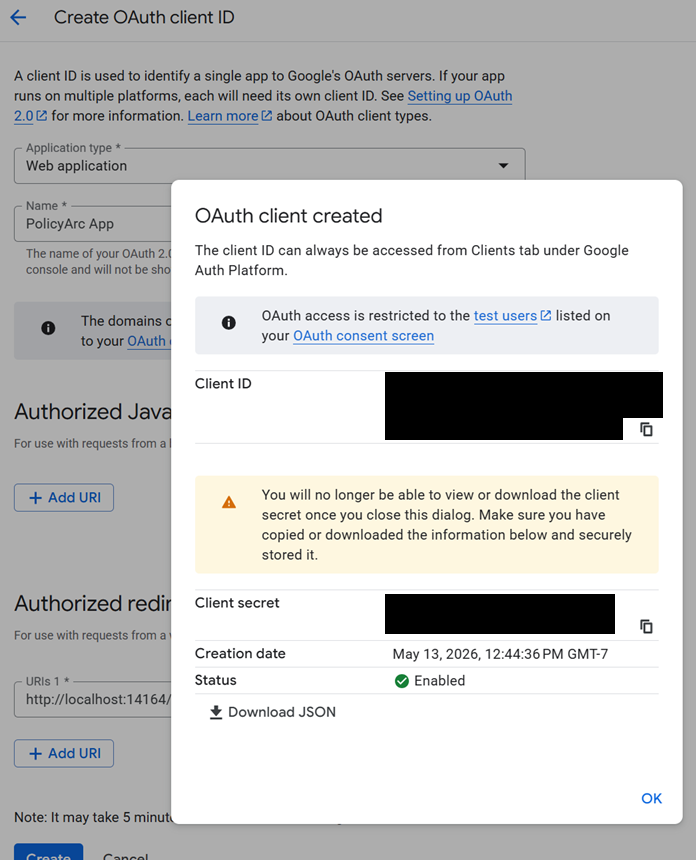
You have two options:
- Copy the Client ID and Client secret by hand into the PolicyArc Admin Portal tab.
- Click the Download JSON button to save them to a file you can paste from later.
![]()
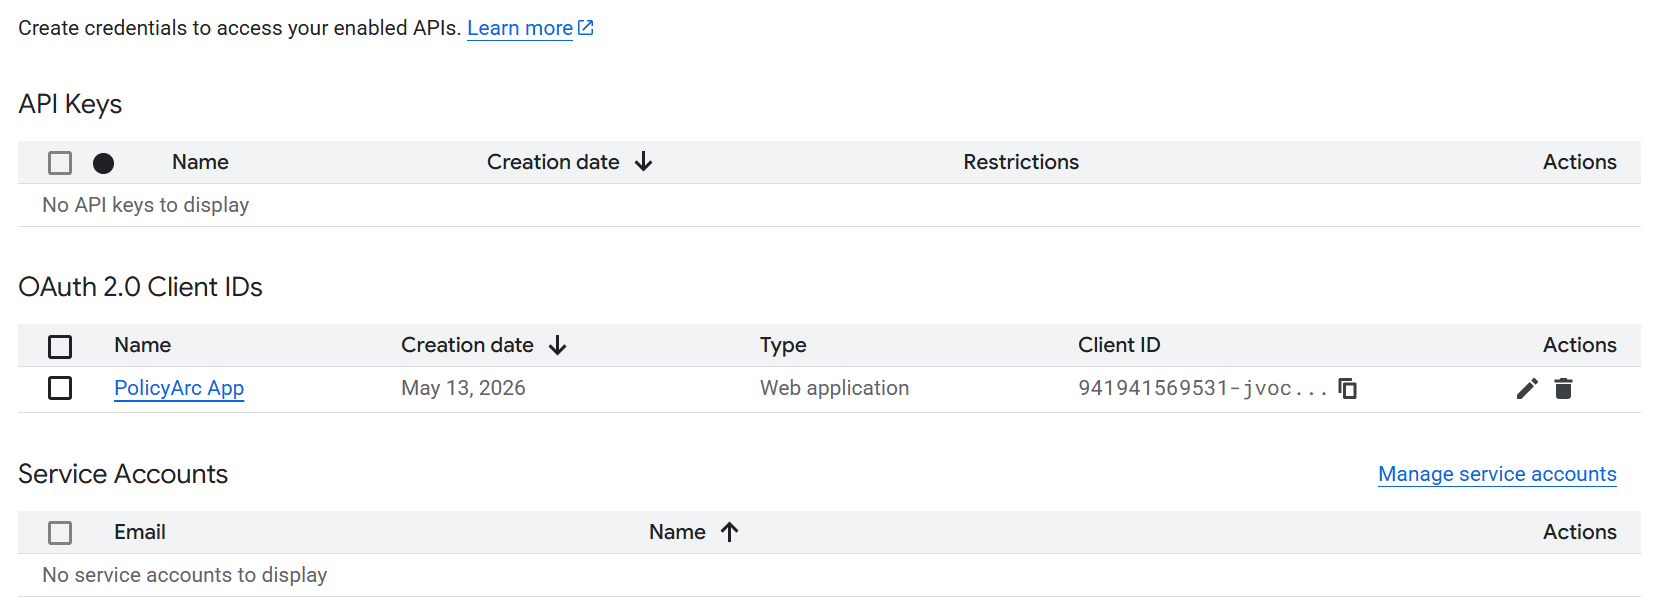
Once you've captured both values, dismiss the dialog. The credentials now show in your Google Cloud Credentials list.
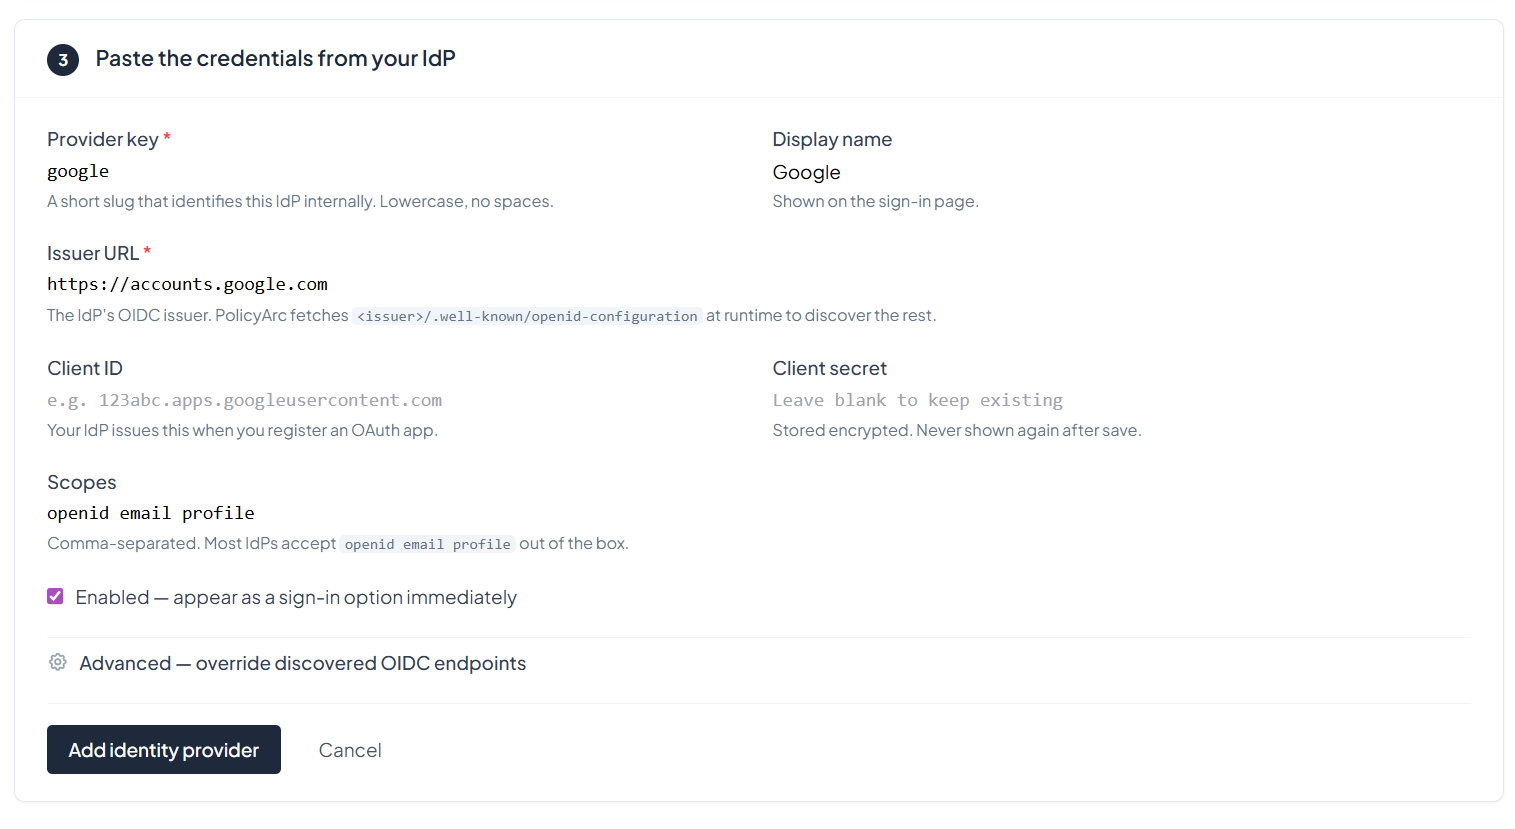
Step 5 — Finish the IDP in PolicyArc
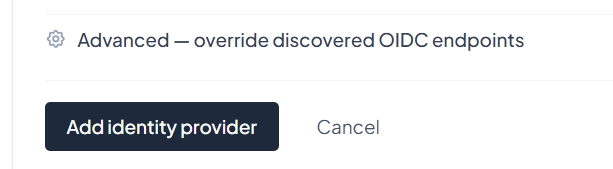
Switch back to the PolicyArc Admin Portal tab. Paste the Client ID and Client secret into the form, then click Add identity provider.
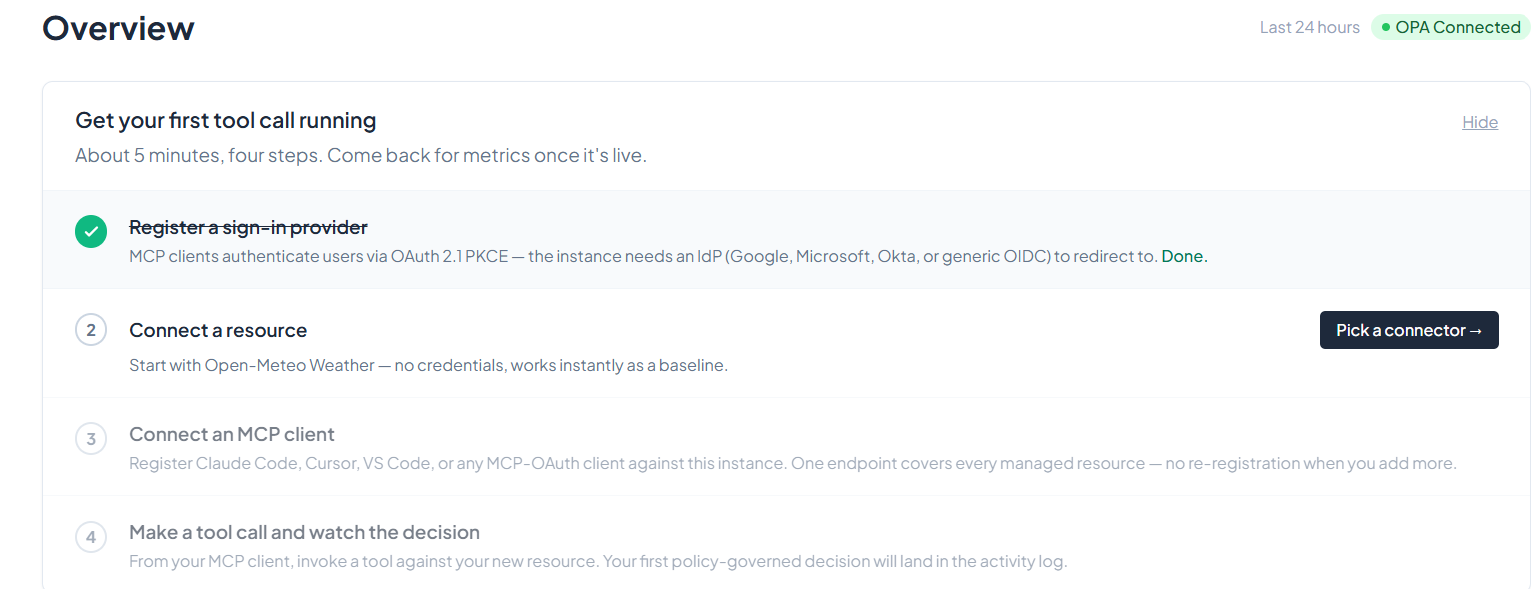
You'll land back on the environment overview. The Google IDP is now connected and ready to use.
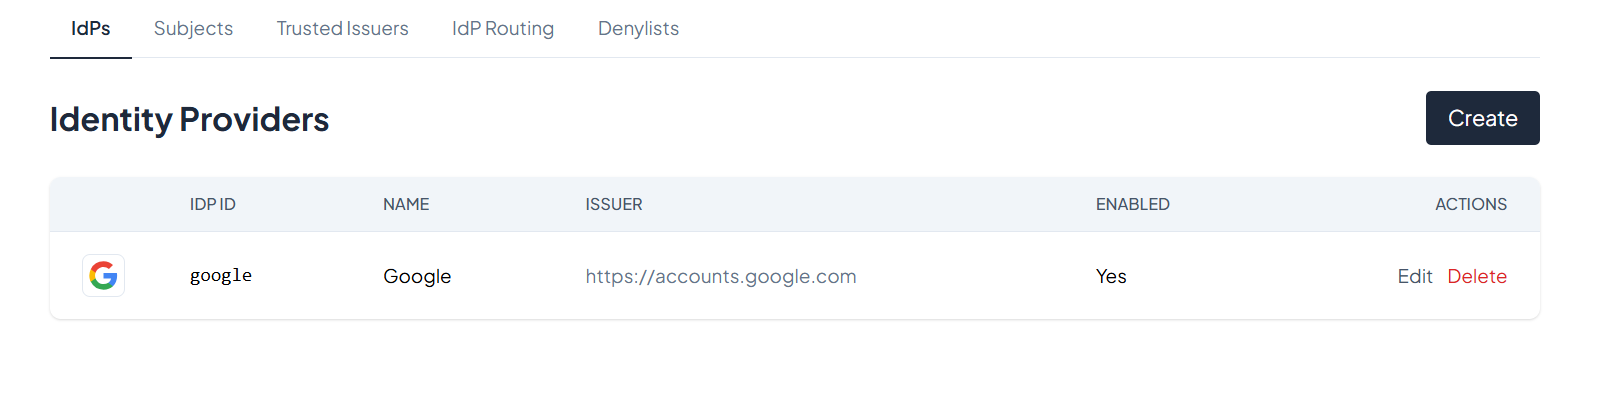
You can review or edit your IDPs any time from the Identity menu in the left navigation.
Enabling and disabling an IDP
To temporarily disable an IDP without deleting it, open it from the Identity list and toggle Enabled off. Disabled IDPs are hidden from sign-in but their configuration is preserved.

What's next
The Google IDP is now authenticating users. Next, give them a resource to access:
- Recommended: Google Drive — the simplest connector for the Google pass-through model.
- All resource connectors → — Calendar, Gmail, and more as we add them.
The walkthrough above uses pass-through OAuth — every user signs in with their own Google account. If instead you need a Workspace service account with domain-wide delegation impersonating a fixed user, instructions are coming soon. Contact us if you need it now.