Start Here
Five steps from a fresh PolicyArc account to your first policy-governed MCP client call. The first two steps are quick; the last three branch by provider — pick the one that matches your environment.
Before you begin
You need:
- A PolicyArc dashboard account — request one at policyarc.com/contact during the beta.
- An external identity provider to authenticate your users. PolicyArc supports Google, Microsoft Entra, and Atlassian today. GitHub and Okta are on the roadmap — tell us if you need them sooner.
- An MCP client installed on at least one developer machine — Claude Code, Claude Desktop, Cursor, or VS Code (with GitHub Copilot Chat).
You don't install PolicyArc. The dashboard provisions the Authorization Server, OPA policy engine, and Gateway for you.
Step 1 — Sign in to the dashboard
Navigate to the dashboard URL you received in your welcome email and authenticate with the mechanism your organization uses (most setups use OIDC SSO).
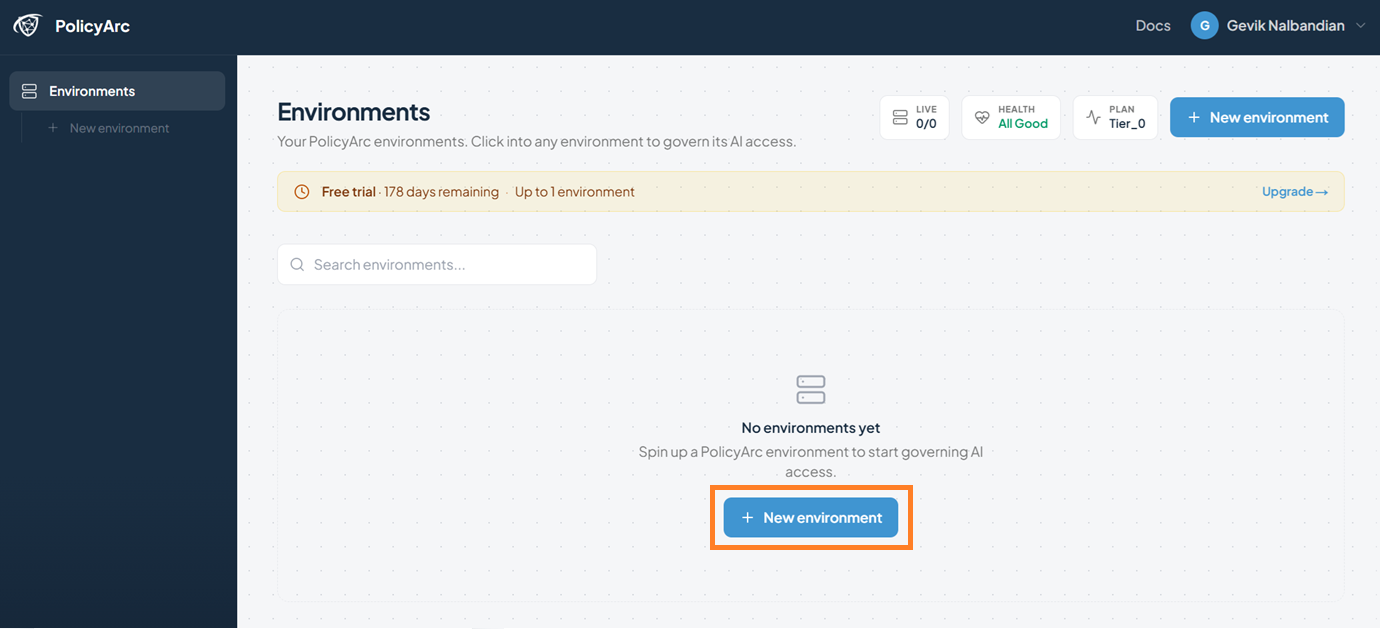
You'll land on your Environments page — empty on a fresh account.
Why this step: The dashboard is your control plane. One account, one tenant, isolated from every other PolicyArc tenant.
Step 2 — Create your environment
From the Environments page, click Create environment.
Give it a descriptive name — for example, My Dev Env.
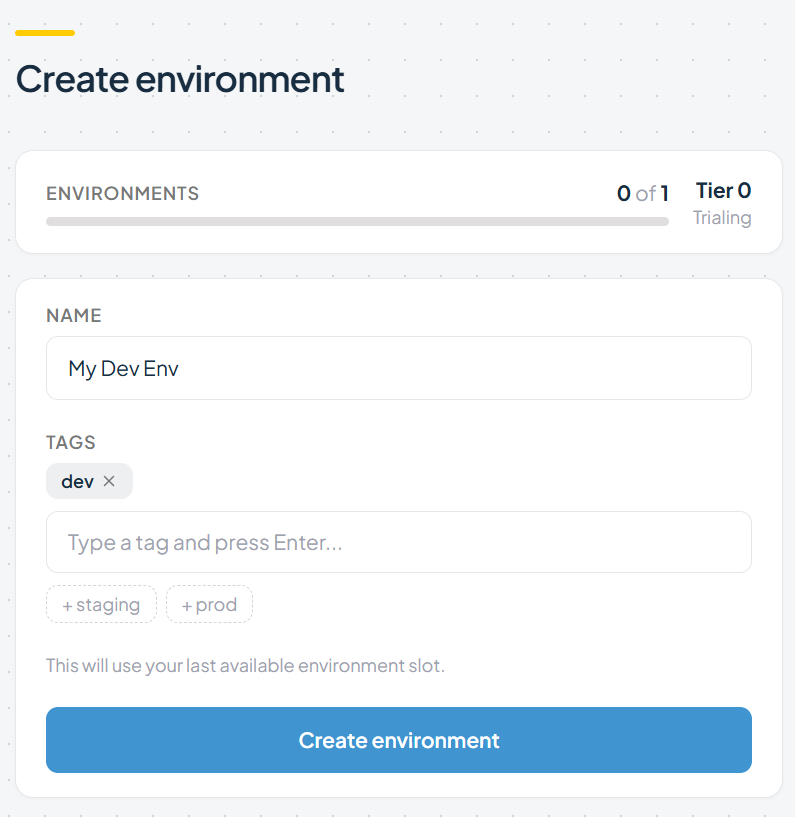
During the beta you can create one environment per account. If you need a second (for example, separate dev and prod), contact us.
Provisioning takes 30–60 seconds. You'll see progress, the version, and the tags you applied.

When the status turns green, you'll see your environment's home screen.
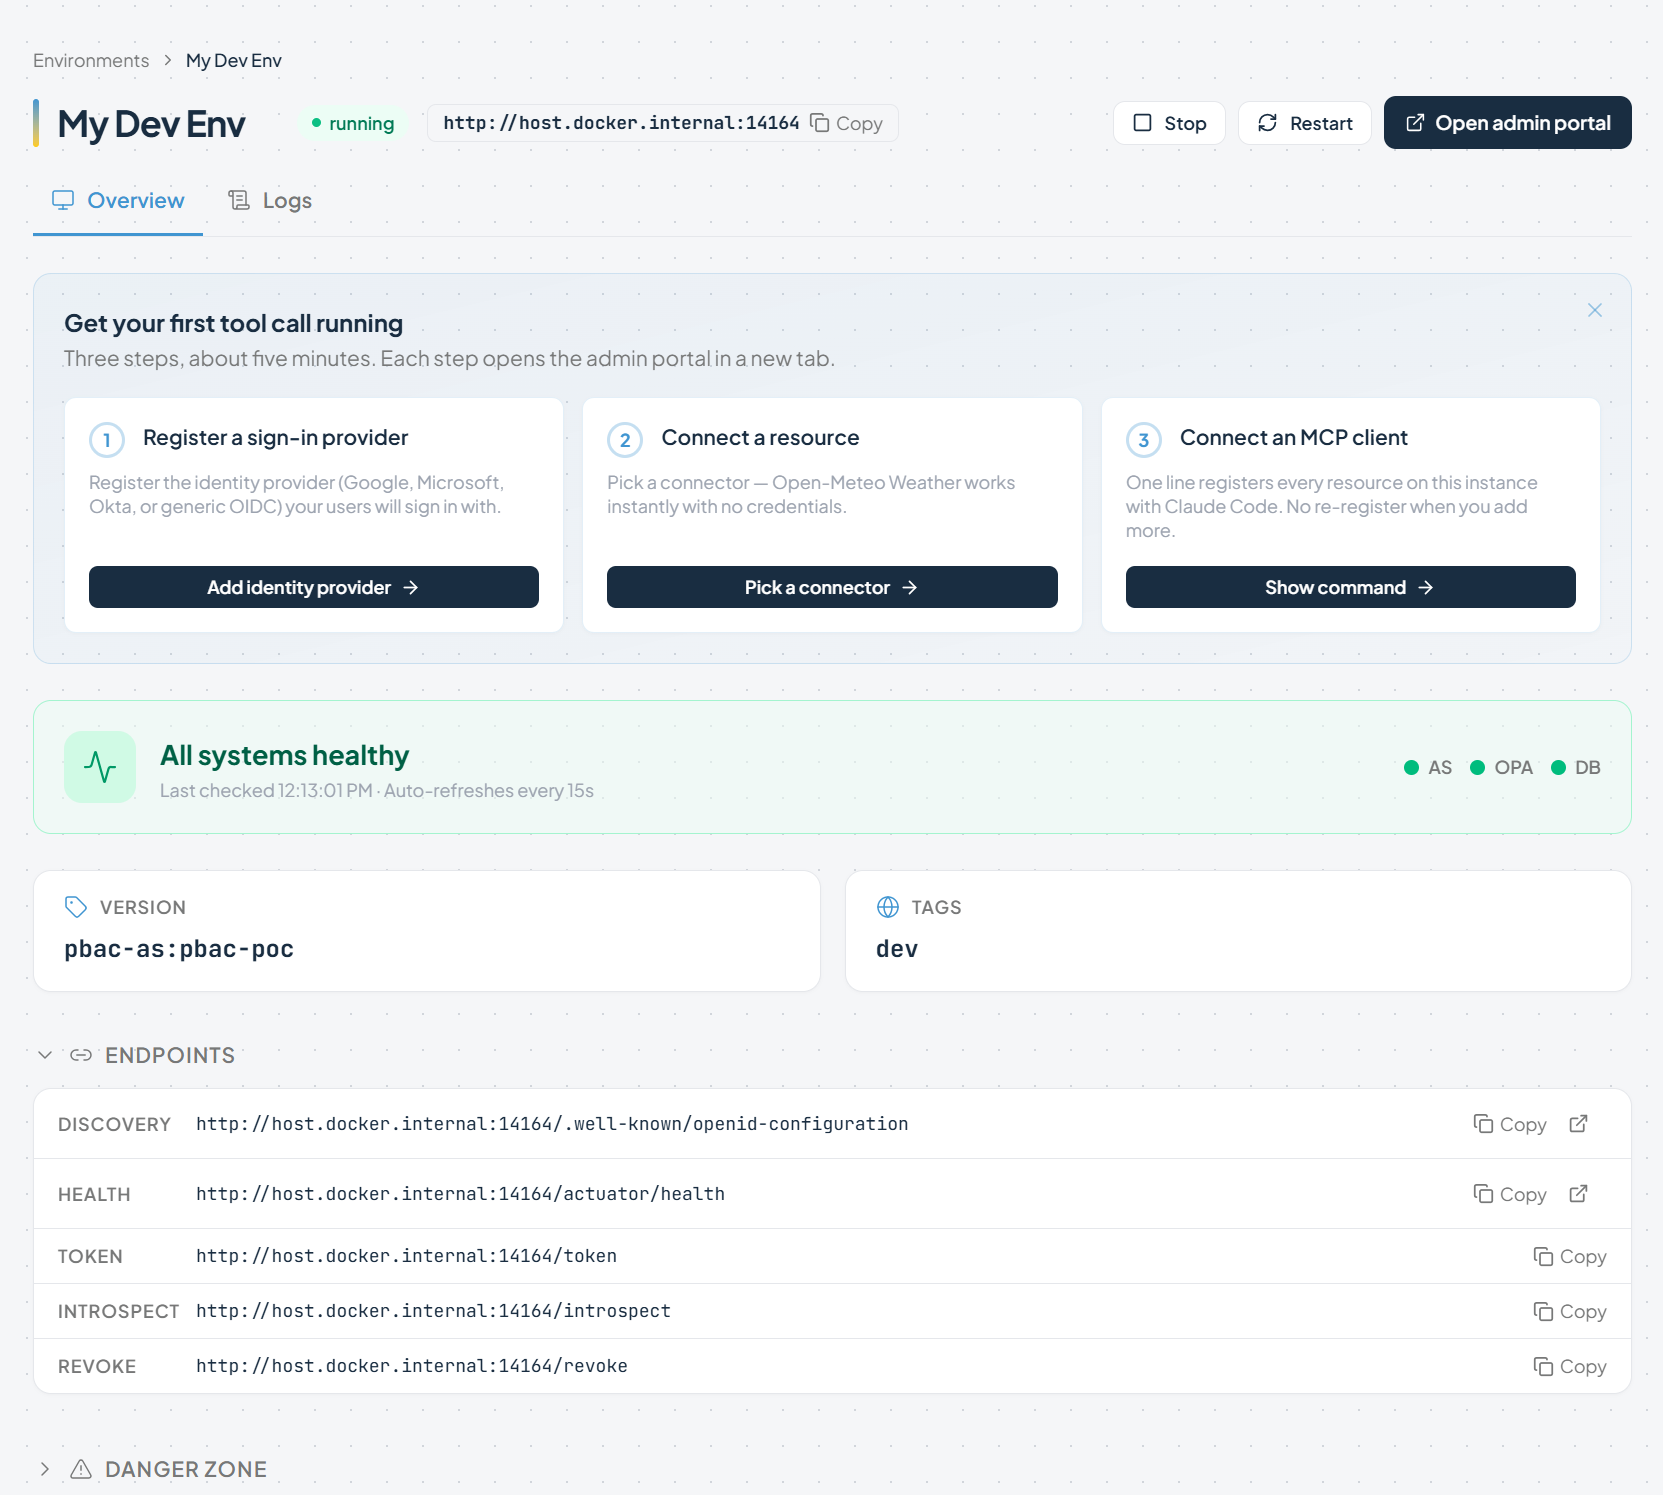
From here you have two paths:
- Open the Admin Portal in a new browser tab — the full administration UI.
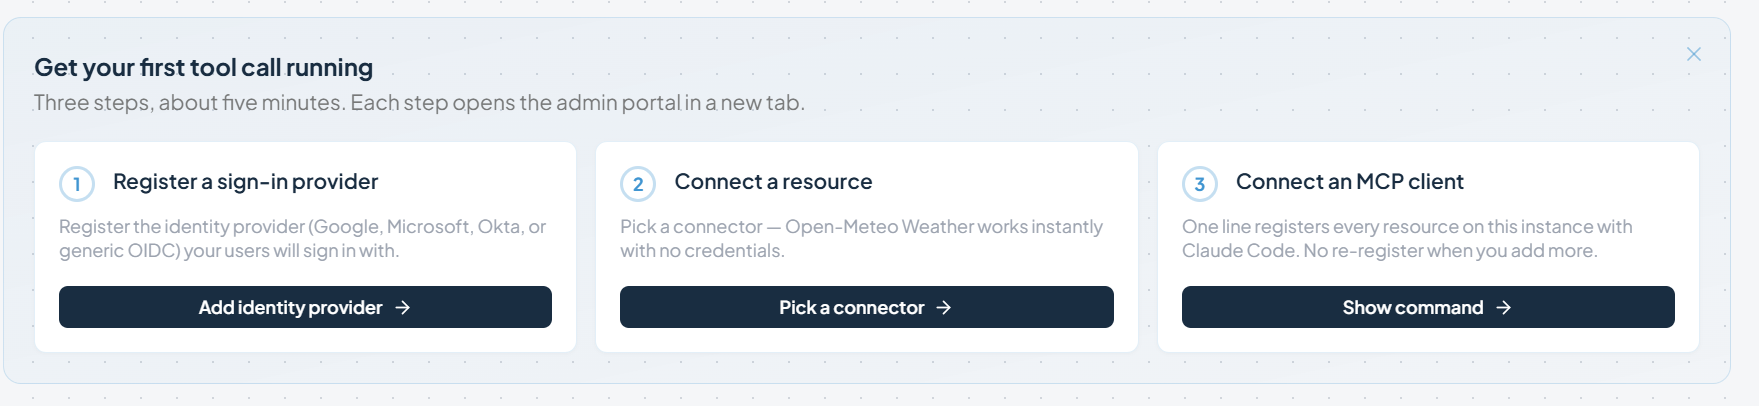
- Follow the three quick-setup steps right from the environment dashboard — IDP, Resource Connector, MCP Client.
Both paths land in the same place. For this guide we'll use the Admin Portal so we can show the full UI.

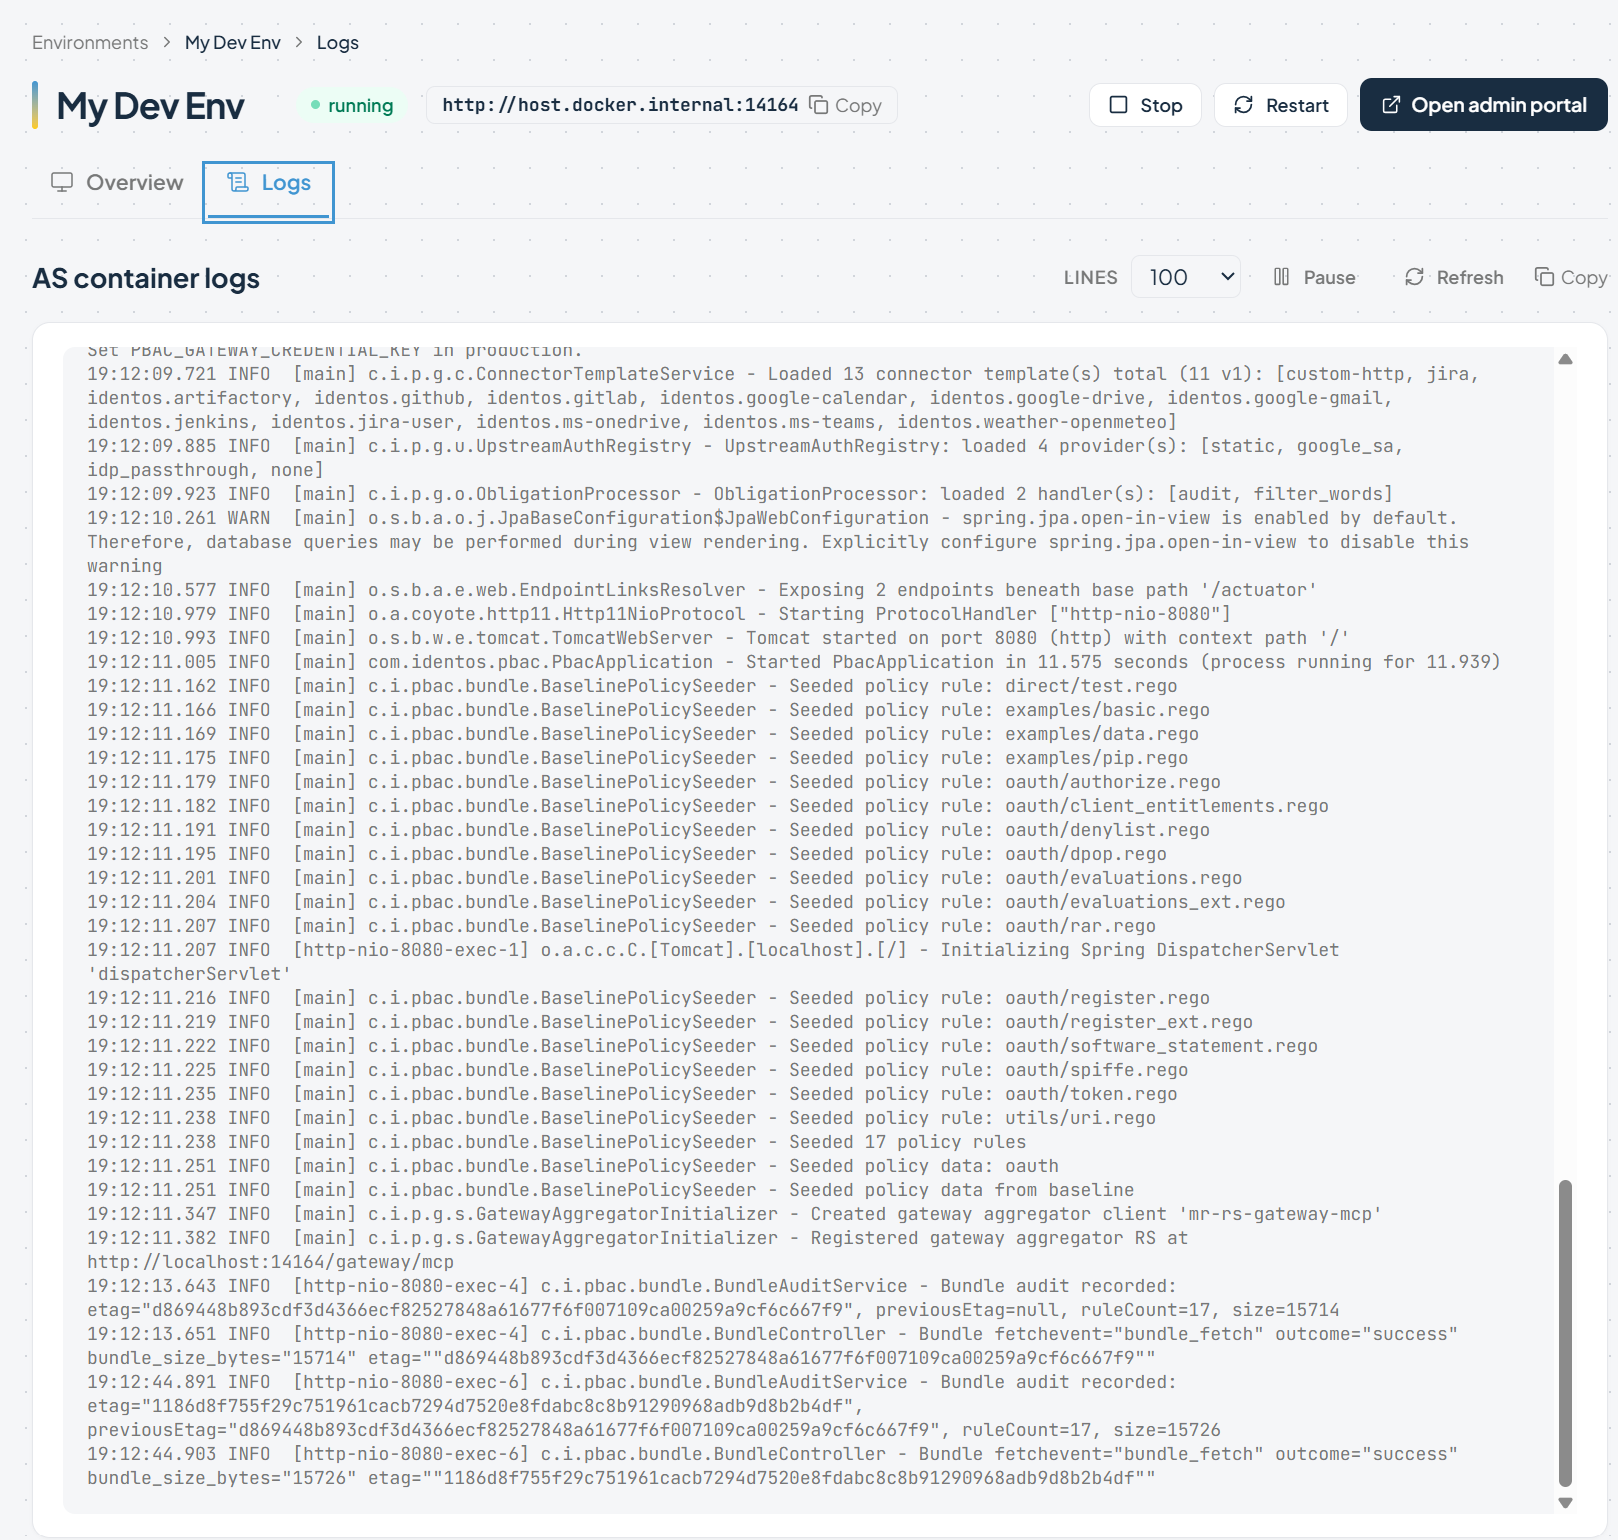
If you want to watch what your environment is doing, the Runtime Logs view is always available from the environment dashboard.
Why this step: This is your Authorization Server. Every token your users and agents get is issued here. Every policy decision flows through this environment's OPA engine.
Step 3 — Connect your identity provider
Open the Admin Portal and go to Identity → Add identity provider.
Pick the provider that owns your users:
- Google — Pass-through OAuth: each user signs in with their own Google account.
- Microsoft Entra ID — Pass-through OAuth via your Microsoft tenant. Required if you plan to use the OneDrive or Teams connectors.
- Atlassian — Pass-through OAuth via Atlassian (3LO). Required for the Jira (user passthrough) connector.
- GitHub — (coming soon)
Each provider has its own setup quirks (OAuth app creation, redirect URIs, client IDs, API scopes). The provider page walks you through every screen.
Why this step: PolicyArc doesn't own your users. It federates to whatever IDP already holds them. Authentication stays with your IDP; authorization moves into PolicyArc policy.
Step 4 — Connect a resource
Now that PolicyArc knows who your users are, give it a resource to protect. Open Resources → Add connector (or click the Pick a connector button on the environment dashboard).
The connector list highlights what's available for the IDP you connected in Step 3 — connectors with a green border are unlocked. Pick one:
- Google (requires the Google IDP)
- Microsoft (requires the Microsoft Entra ID IDP)
- OneDrive
- Teams
- Microsoft Calendar — (coming soon)
- Atlassian (requires the Atlassian IDP)
- GitHub — (coming soon)
The connector page walks you through the authentication choice (pass-through vs service account where applicable) and the post-connection view.
Why this step: A connector wires a real-world resource — Drive, Calendar, GitHub — into your gateway as a set of MCP tools. Every call to those tools will go through PolicyArc and get a policy decision.
Step 5 — Configure and test an MCP client
Hand your developers an MCP client setup. Each client has a different configuration surface, but they all point at the same gateway URL and use Dynamic Client Registration on first call — no client secret to provision.
- Claude Code — terminal-first, registered with
claude mcp add - Claude Desktop — desktop app, JSON config file
- Cursor — IDE, MCP settings UI
- VS Code (with GitHub Copilot Chat) — command palette + MCP user config
- OpenCode — (instructions coming soon)
On the first tool call:
- The client hits your gateway → gets
401→ reads the AS URL. - The browser opens to PolicyArc's sign-in page; the user authenticates through your IDP.
- PolicyArc issues a token scoped to what policy allows.
- The client retries; the gateway introspects, OPA decides, the backend returns data.
Open Admin → Audit Log to see the call: user, agent, tool, scope, decision, timestamp. That's the proof the policy is working.
Why this step: This is the end of the setup. Everything from here on is policy work — which lives next door.
Where to next?
- The Agent Access Problem — the CISO-focused framing if you need to bring security on board.
- Policy model — how PolicyArc evaluates a request and how to extend the built-in policy.
If your environment can't use a hosted tenant (regulated industry, air-gapped network, data-sovereignty requirement), PolicyArc can also run in your own Kubernetes cluster. Contact us to discuss self-hosting.